konvikts6
-
Posts
8 -
Joined
-
Last visited
Content Type
Profiles
Forums
Gallery
Events
Yamaha Racing News.
Media Demo
Store
Collections
Classifieds
Posts posted by konvikts6
-
-
I work in the building trade and through that i have made a good friend of mine with whom i work with every day. he is a native american indian and is a leathwork enthusiast.
he said he would help me to make a seat. if i learnt how to tool the leather so i can help him with further projects.
i used the skull as a reference to my design on the leather.
its veg tan leather and can be tooled when wet and it doesnt loose its shape.
this is only my second attempt at tooling leather in my life, so i dont think its too bad!
i used 4 layers of my girlfriends yoga mat to pad my seat, and wet the back of the leather and began shaping it
glued to another piece of leather at the back we trimmed it


this is my good friend Juan, after he stiched it and dyed and polished it for me!!!!! good man!
if anyone is interested in a custom seat you can also contact me via [email protected] as we do quite a few of them along with tool rolls.
so after the seat, i began to build a new loom as a binned the original and just kept the connectors and its easier for me to build a new loom then mess about with an old one.

you can also see the boxes i welded up from stainless for the sides.

ignition key will sit inbetween coils.

-
 1
1
-
-
Hello everyone,
firstly thanks to everyone on this forum of their indirect and direct advise that i have scanned through for hours and hours to get me through the thick and thin of this project.
So here goes: i purchased the bike in this condition, it was a non runner and had apparently been sat for at least 5 years. It cost me £350.

The teardown begins......
rust rust and more rust
i couldnt get the back end off without chopping the frame, and as i wasnt going to be keeping it it seemed the fastest option anyway.
i had to weld nuts on to origional nuts and bolts to remove some of the engine mount bolts and the nuts holding the pipes on where almost round.
but she came out in the end.
now the origional plan was to take the engine out, clean her up and put her back in to see if she fired.....
however i found alot of crap in the oil, shaving and chunks and my heart sank as i realised i would need to open it up to have a good check before i would even consider starting her.


safely boxed and ready to give a good clean and soda blast
this is post wire brush and thinners and degreaser
and this is after the soda blast and dishwasher
getting the old gaskets took 2 days of patience which sucked
then i spotted a huge problem. disaster. the mount that holds the kickstart shaft had snapped off, and i realised that this was the cause of the chunks in my oil so i had to split the cases to investigate further......
note the picture is after ive repaired it
now welding cast sucks, and cast ally sucks even more so please excuse me on this one as its extremely hard.


i did a few more passes to tidy things up before filing the internal and sanding upto 3000 grit to the exact bore of the kickstart shaft.
someone at this point would have got new lowers but i was determined to keep matching numbers so i fixed it instead and now its probably stronger than before.
meanwhile:
i started stripping and de-tagging the frame, finding more and more problems as i found myself laying awake at night searching the internet for the best way to remove seized bolts.... which i now know is stick weld a massive bolt on, spray with WD40 and crack off while still red hot.

wire brush on the grinder to tidy the frame up better
i purchased a new tank one of a sportster style and shape

and then i realised that the bike looked completely crap.
drastic measures would be needed to make it look like a real custom and not just some tank and seat replacement ''CUSTOM'' that you see far too many of.
this for me was a major turning point in my design and vision for the bike.
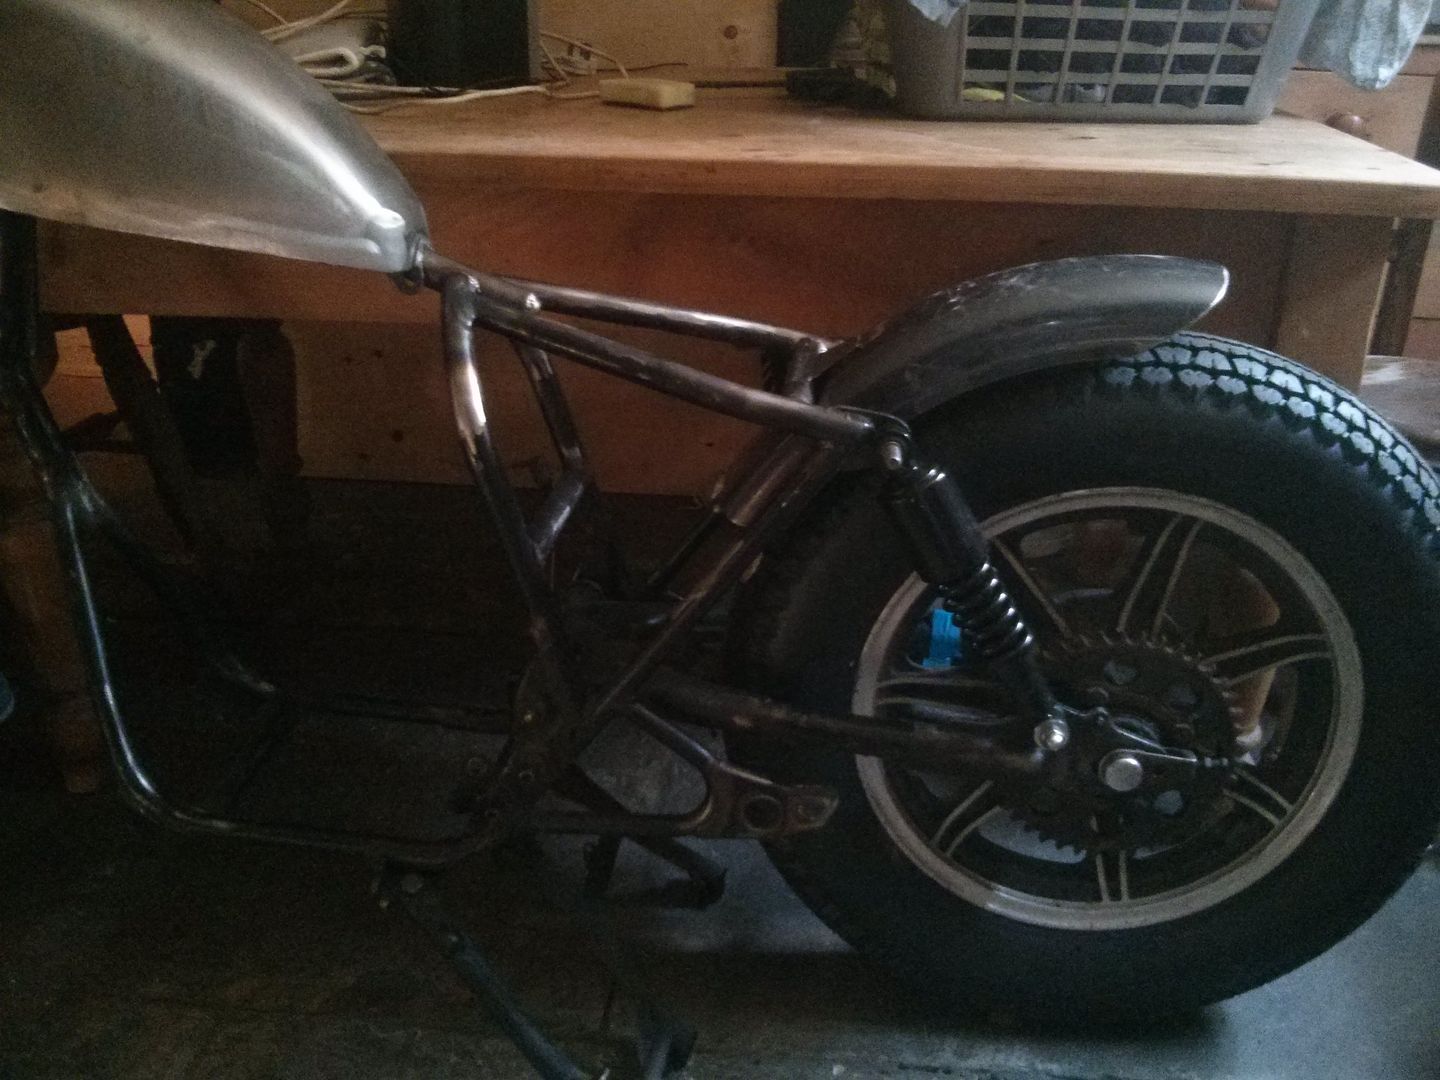
the triple top tube and rear end and shock HAD to go. no doubt about it.
however this would mean more time and a lot more work.
HERE GOES NOTHING.....
grinder out and frame butchered, using some donor tube from an old chopper a friend of mine was scrapping i managed to salvage some good tubing, and turn some solid mild slugs for joining the freshly cut tubing to the donors, tacked through holes and welded up fully.
ive not displayed any weld prep here as its very tedious and boring and i never take pics of that.


engine lifted in and out soo many time in this process. very tedious checking and squaring up, string lines straight edges, alot of measuring and banging tacking chopping and re tacking but ill spare you.

left over slug for the end finished it off nicely
endless tacking and pipe fitting again here....

tacked a piece of scrap on to keep it all true
joining it back up ready for adding new mounts for rear shocks
slots cut all the way through both tubes whilst tacked so that the full penetration welds will also weld to the plate for extra structural bearing


mocking up some plates which were too long to start with, then drilled square with pillar drill for the 12mm bolts to go through and weld at both ends.


shocks on and tacked up, checking for twisting etc etc.
rear end sitting 3 inch lower plus the lower shocks really slams the back.
welded up


the testing:


now for a new tire before i weld on the cross bar, this enabled me to have a avon 500x18 on the back as i have gained lots of clearance back there
sitting exactly where i wanted it to and i could not have been happier!!!!
cross bar welded in now i know how much clearance i needed
BACK TO THE ENGINE!!!!
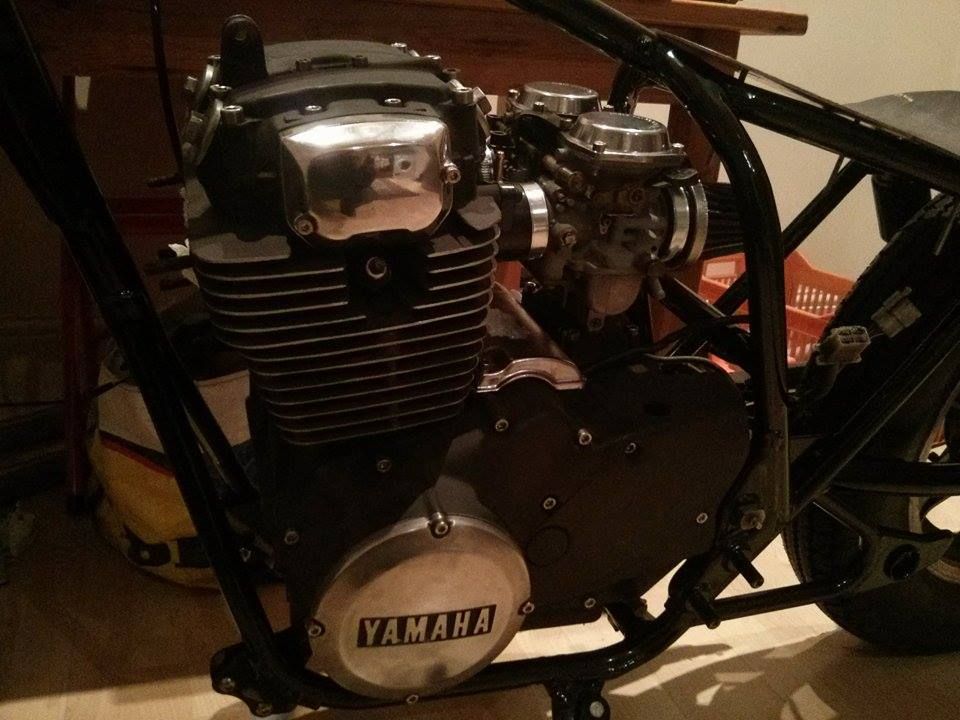
alot of polishing and prepping and painting later and it was time to rebuild this little baby!!!


All new stainless alanheads for all covers


TEST FIT BACK IN THE BIKE!!!!
and a quick fabrication of a battery box and some tabs welded in to hold that and the seat pan i made.

looking at side box design ideas

new bars and lots and lots of other parts.
moved house and now the bike is at the kitchen in my FLAT HAHAHAHA
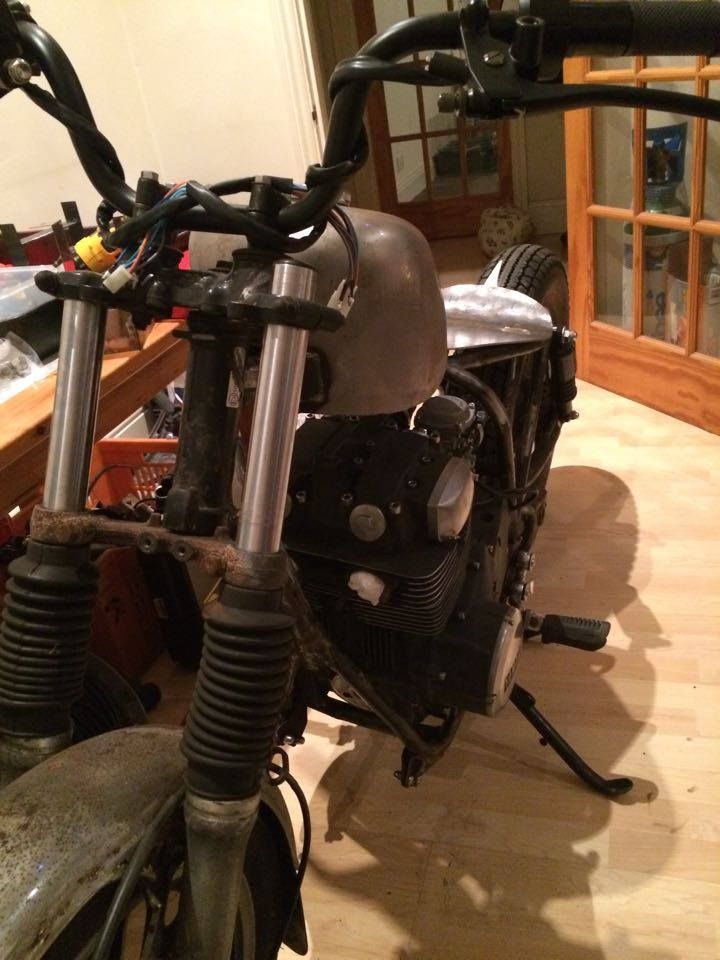
finally my vision is taking shape......
head bracing removed
I did all the messy bits like adding mounting tabs and the tank mounting bolts and brackets and all the finish griding and prepping, before i had the mammoth task of removing the swing arm and breaking the rest down, it went off to blast and powdercoating.
whilst it was at the coaters i painted my tank and rear fender using a technique i used to pain some guitars a few years ago, black then heavy wet silver smudged with cling film then clear coated. gives a marble kind of effect.

Whilst the engine was back out of the bike i made the most of it and polished everything up and cleaned my carbs very very well.
and back from the powdercoaters she came......buzzing.


-
 1
1
-
-
ok thanks drewpy! and ye ye thats why i didnt want to force it as someone must have done that with my bike with the past and ive just had to strip down and weld the casing and machine it!
-
Thanks drewpy!
so basically im turning the shaft clockwise so the stop is as far clockwise from the stop position as possible then im inserting it and turing the spring clockwise with some grips then hooking it onto the spring holding bit. then putting the cover on and im not sure whether it doesn't engage or its just too stiff. am i doing something wrong or should i just try and put it in again and try and make sure the gears mesh if thats the problem? -
Hello all, just a quick one. me and a friend have both completely stripped and rebuilt our entire engine on our xs250's. rebuild has been strict and torqued appropriately whilst ensuring that all parts still turn freely.
i dry fitted the crank case at the kickstart side and re assembled the kickstart shaft correctly. and its at this point both of us found that when engaging the kickstart lever we could not get it to turn the engine and feels like its locked.
my friend even rebuilt the whole engine again in case he missed something but we are still stuck at this same problem.
now i was thinking maybe its because the engine is still dry apart from the lubrication used when refitting all the parts however im reluctant to fill then engine up with oil and drain it again as i didnt want to fill with oil until it was actually on the bike as this model requires that you remove the oil filter to place the engine back into the frame.
Thanks from both of us for any help in advance!
-
Hello all, im new to this forum and im not sure if this is the correct place to post this so excuse me.
Im in need of some 22mm 25mm and 32mm tubing all 3.5mm wall for my first every motorbike custom.
could anyone recommend a good uk supplier that is cheap and doesnt require a huge bulk order.
Thanks in advance. -
Hello everyone, I'm Kon and I'm new to the forums and here to stay, I have been working on a XS250 project for the past few months and im keen to get some more info and share with you my progress!


XS250 BOBBER CHOP START TO FINISH.
in Projects
Posted
Now once the wiring was done i did the timing and took her outside. filled with oil, fully charged battery and dummy fuel tank.
.........i wasnt expecting even a peep when this happened.
https://www.youtube.com/embed/431rjwJw1fY
I decided against the cheap crappy headlight i had on the bike in previous videos and i have gone with a premium one instead, mounted it lower and relocated the speedometer.


since then ive got a new front tyre to match, welded a new 304 stainless tip onto to 2>1 pipes wrapped them and finished the box covers.
its going for MOT this week.
BUZZING
HERE IS THE FINISHED RESULT.


HUGE thanks to everyone who contributes to this forum as it has been a huge archive of info for me to pick at.
Also for anyone out there that thinks they cant do it...... i dont even have a motorbike licence, i just did it for a project as i love building things.